There are 0 items in your cart

How to change your HRV filter
May 14, 2023
0 comments
1, turn off controller
2. unplug power in ceiling at power point close to master unit in ceiling.
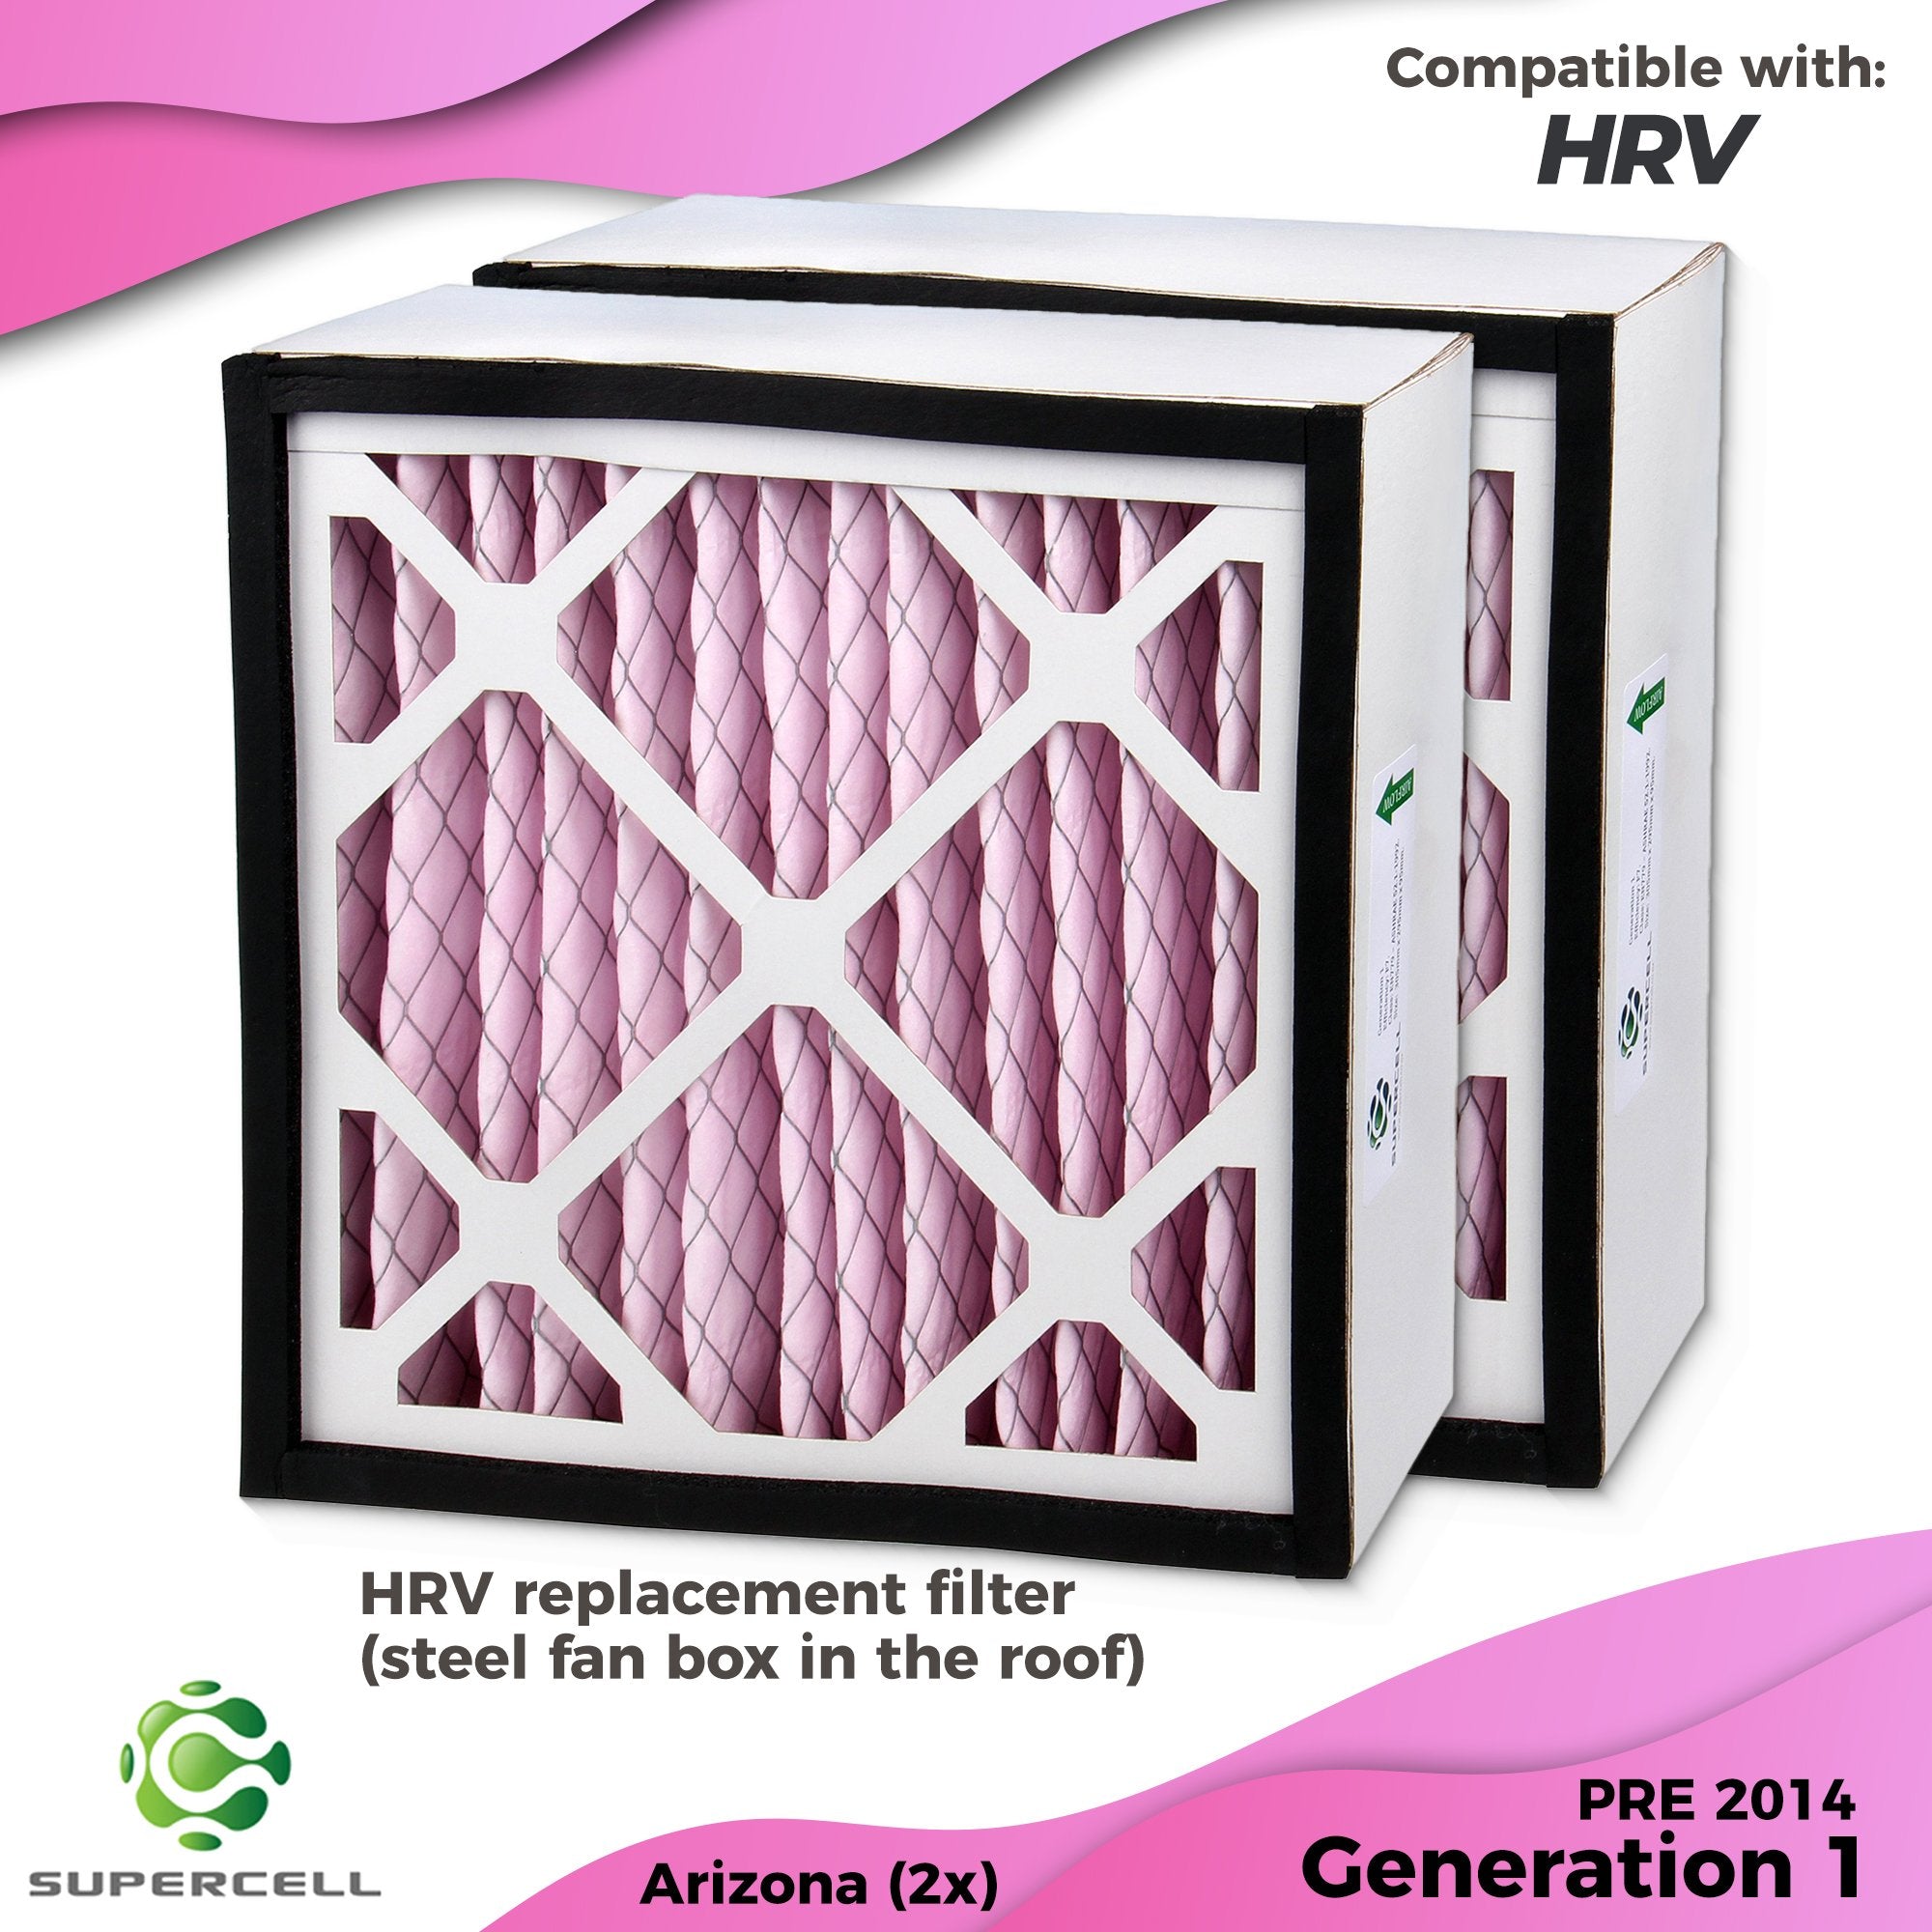
3.If Generation 1 (steel fan box) cut tape holding 2 halves together by placing craft knife/box knife blade through tape between overlap/join of 2 halves
NOTE cut hard into corners to make sure tape is separated.
4.Remove halves, remove old filter & replace new filter.
NOTE The Generation 1 system comes in 2 models, earlier model has a bottom tray with 60mm up turn. when filter is placed in the fan side of the box & the tray replaced & tapped in place, this is where taking 2 or 3 wraps over the shoulder after wrapping the join is important as this is the model where the tray can be pushed off with air pressure on very hot days when tap glue gets soft.
The newer steel fan box is in 2 exact halves, the halves have dimples that hold the 2 halves in place to stop the above happening so only wrapping the join is necessary. It is also more difficult separating the 2 halves after cutting the tap.
BEST PRATICE
When replacing the filter into the fan side of the newer steel fan box HRV, put the filter so it is half in & half out & run 1 x wrap of tap so its half over the filter & half over the steel box then replace the supply half of the fan box & tap the join.
5.Re-tape overlap/ join once put back together, recommend minimum 5 wraps of tape to seal.(more is better)
NOTE Take 2 wraps over the shoulder of the older model steel fan box. (this will stop parting on very hot days when tape glue gets soft.) not necessary for newer steel fan box, ref above best practice..
6. replace the plug into the power point in ceiling
7.re-set filter timer
8. DONE
IF Generation 2 it's all the same but no tape is needed as it has a clipping system to remove filters.
Filter Re-set also different.
 GENERATION 2
 Prev Post

